
Last updated August 26, 2026
Free on-site gate assessment - hinges, posts, and your LiftMaster or Nice gate operator checked before anything is quoted
The assessment is free and the quote is the invoice.
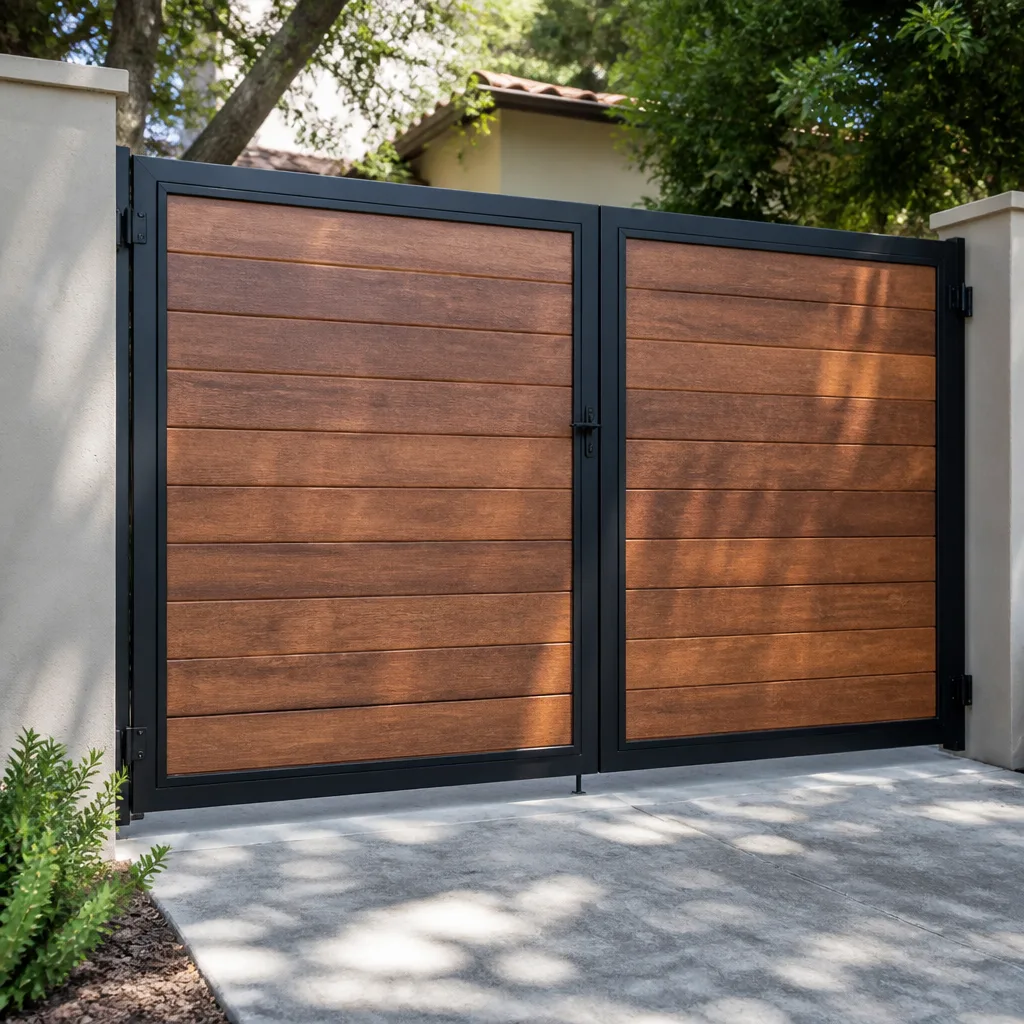
Farm & ranch
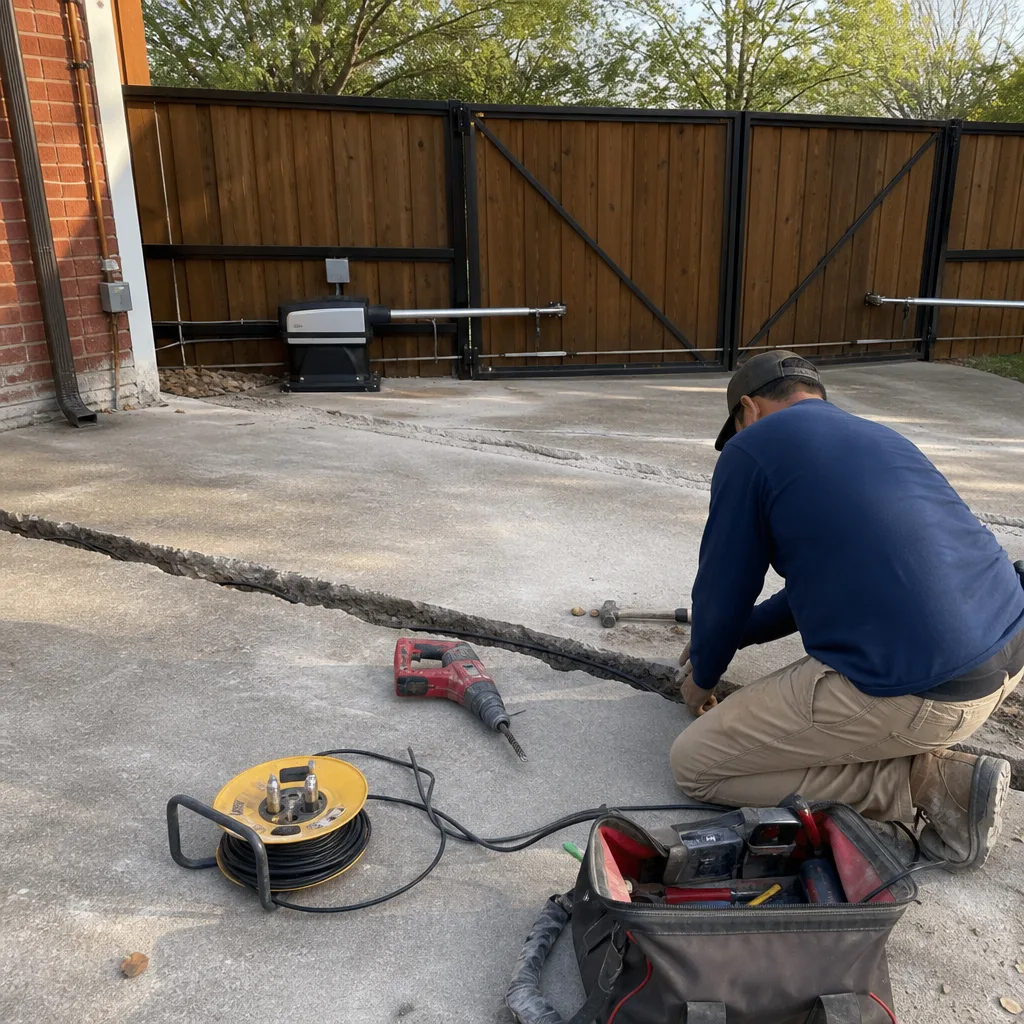
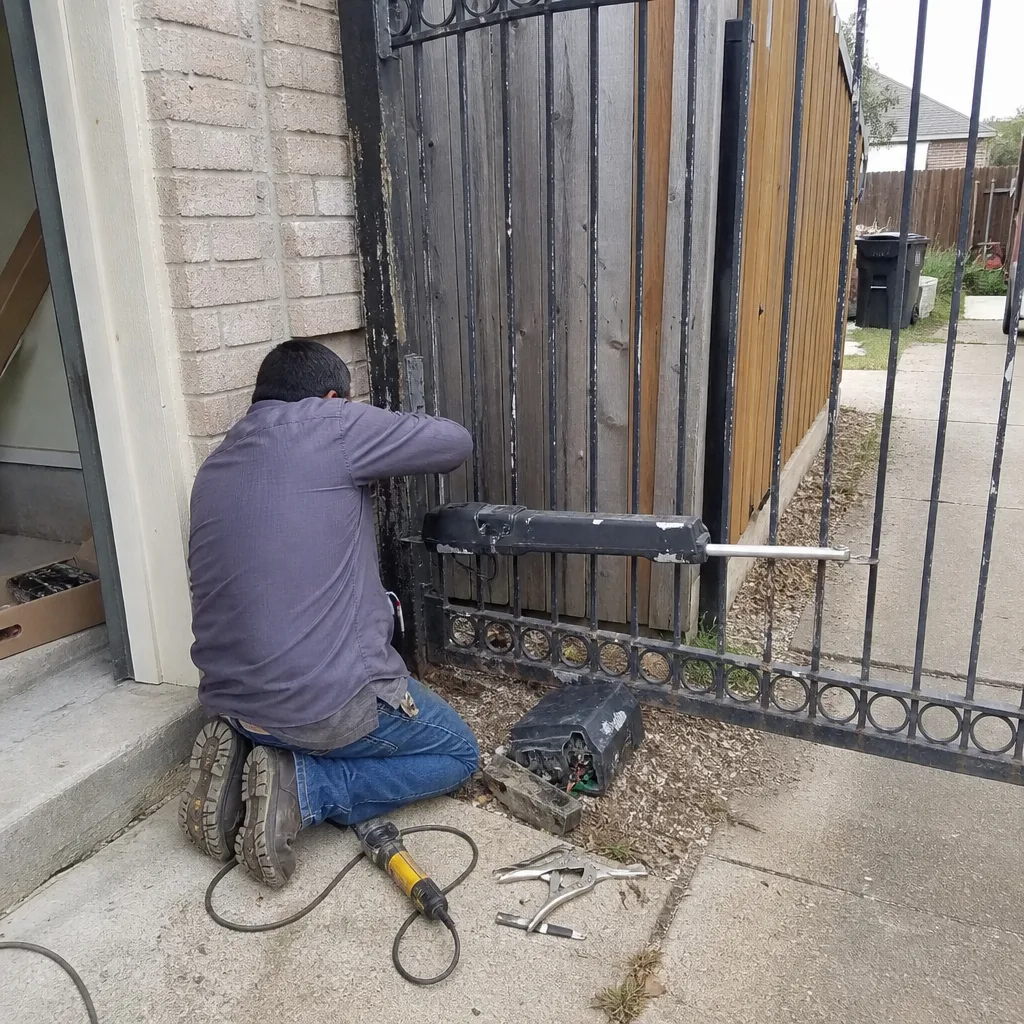 Before
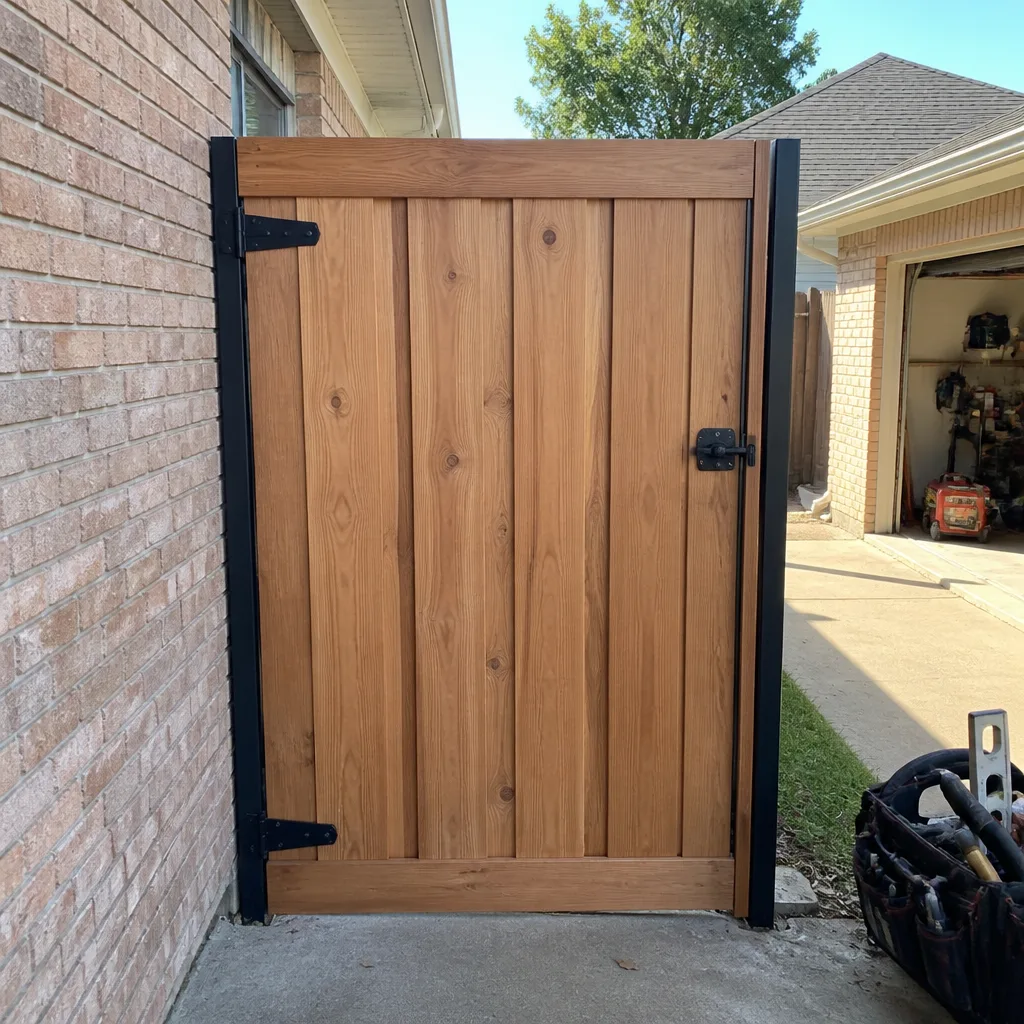 After
After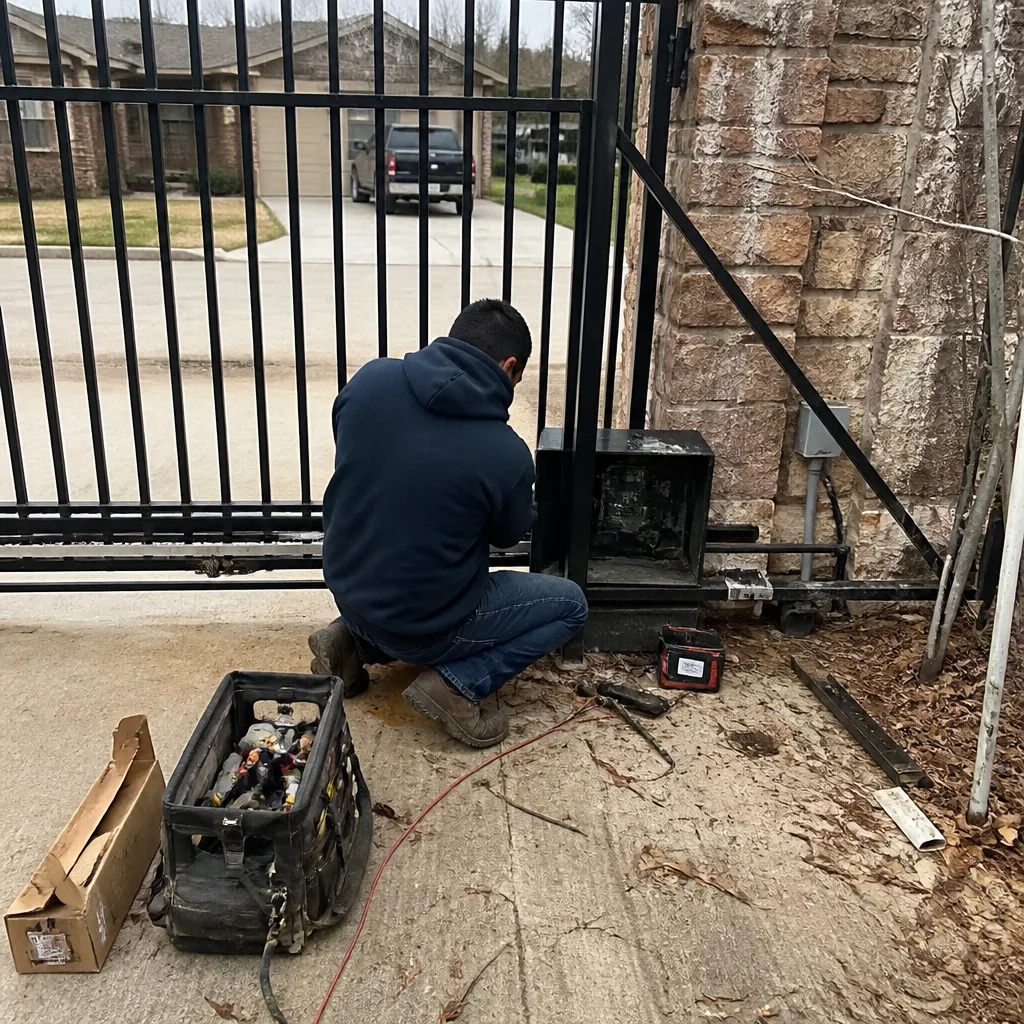 Before
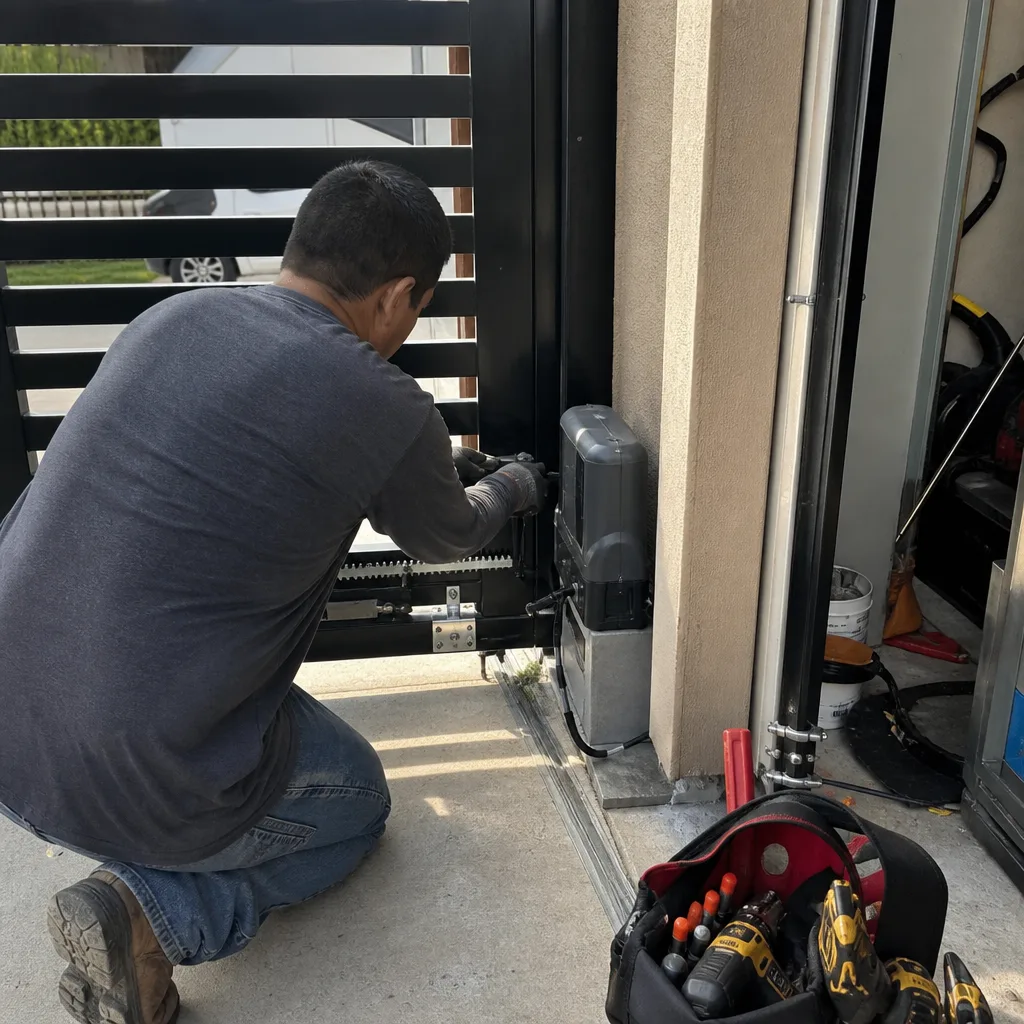 After
After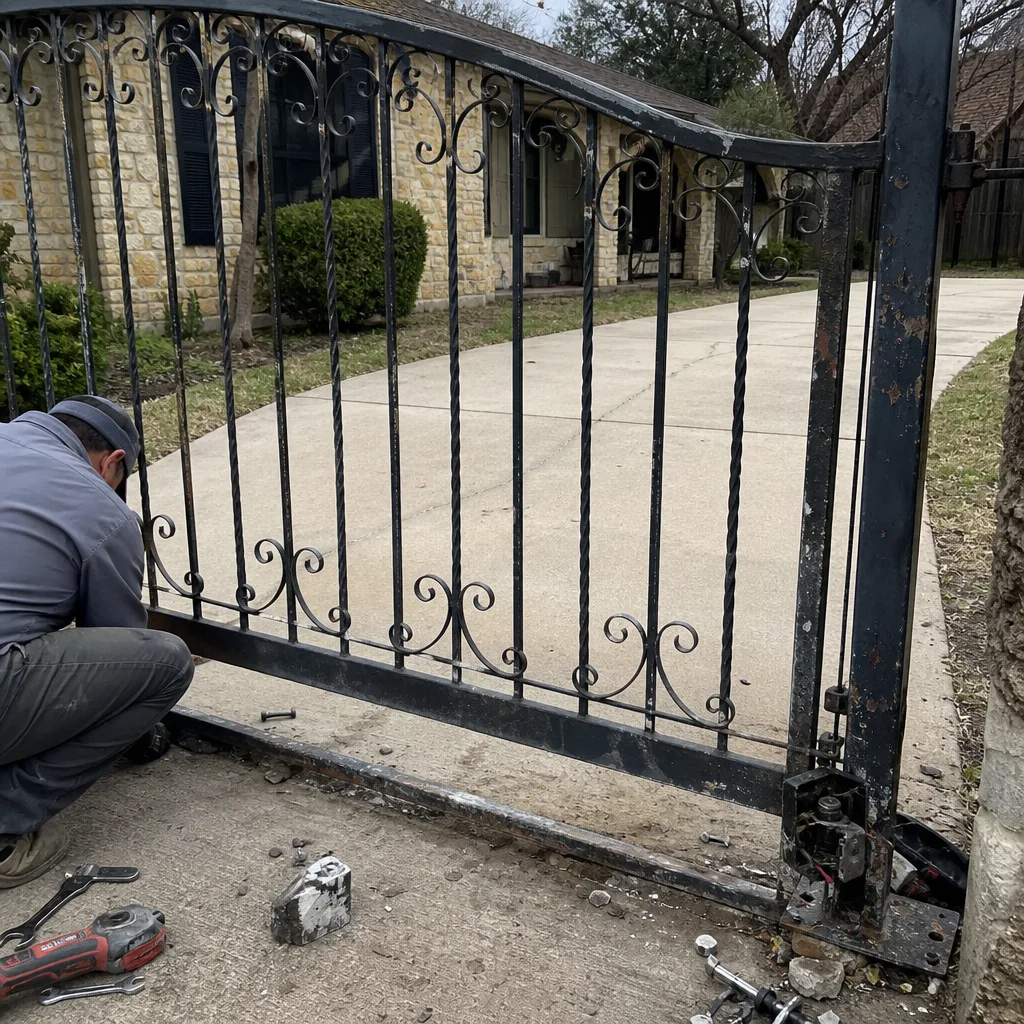 Before
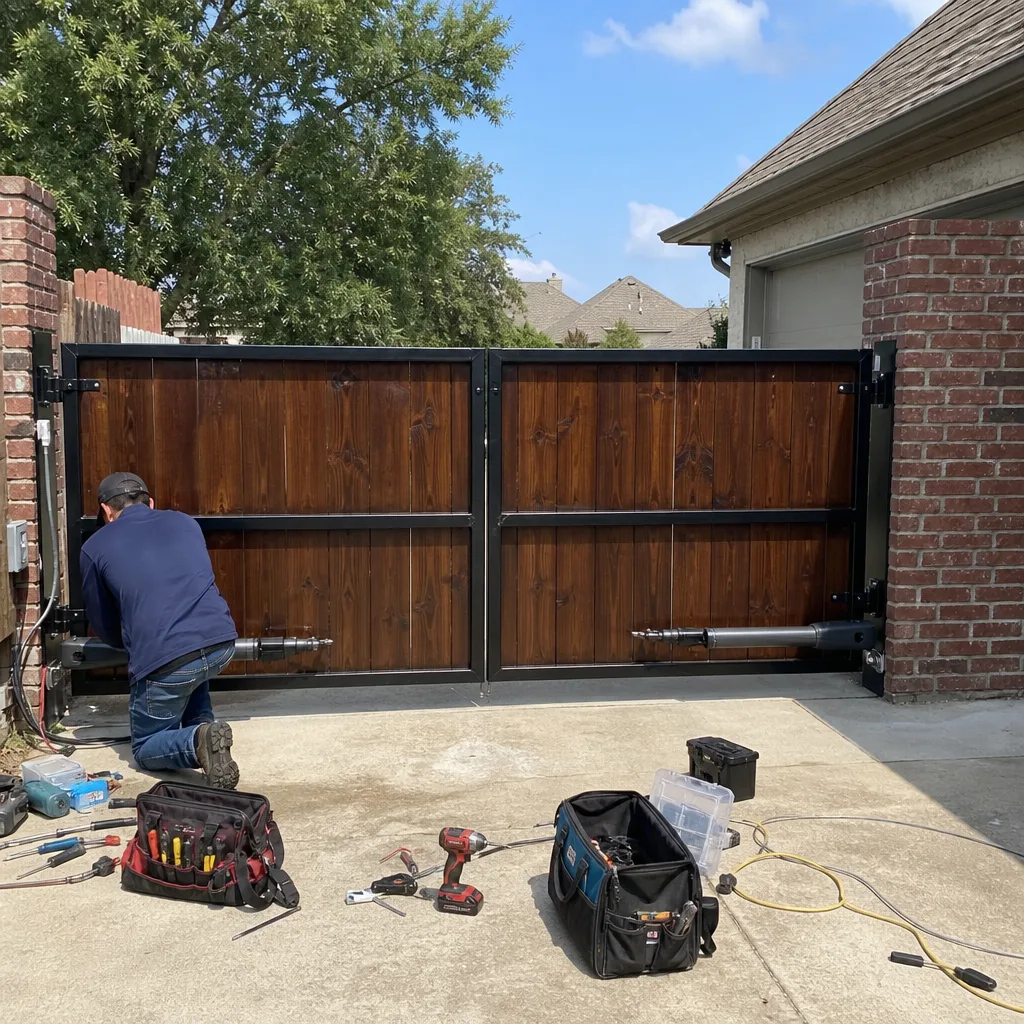 After
AfterGate Repair Maintenance Checklist for Grand Prairie Homeowners
Most gate failures in Grand Prairie aren’t sudden. The number one thing I find when I pull into a driveway is that the warning was sitting right there for six months: a post that’s drifted half an inch, a latch that needs a shove instead of a click, a hinge that’s started to pull its screws. None of it is hard to spot if you know what you’re looking at. This checklist gives you the exact sequence I run on my own jobs: what to look at, in what order, what the measurements mean, and which findings you can watch for a month versus which ones mean a phone call today.
Quick Answer
A useful gate maintenance checklist for Grand Prairie homeowners covers five things in this order: hinge posts, latch alignment, the gate leaf itself, opener force settings, and storm drainage around the posts. Run it every 60 to 90 days, in under 20 minutes, and document what you find with your phone camera. If a post moves more than a quarter inch, a hinge pulls out more than an eighth of an inch, or the opener slams the gate instead of slowing it, call a local gate repair company before the failure strands the gate or hurts someone.
Table of Contents
- Why Grand Prairie Clay Soil Is the Real Gate Killer
- The 20-Minute Gate Inspection Sequence
- Post-by-Post Checks: Movement, Lean, and What a Quarter Inch Means
- Hinge-by-Hinge and Latch Checks: Measurements That Flag Trouble Early
- Testing Your Automatic Gate Opener’s Force Settings
- Summer Heat Expansion and North Texas Storm Loading
- Photo Documentation: What to Record and Why It Matters for Warranty Work
- Monitor for 30 Days vs. Call Someone Today
Why Grand Prairie Clay Soil Is the Real Gate Killer
Grand Prairie sits on blackland prairie clay, and that clay expands and contracts more aggressively than most soils in Texas. It swells when it’s wet, shrinks when it’s dry, and it does this unevenly across your yard. One gate post might sit in a spot that holds moisture while another bakes dry. That differential movement is what slowly works posts loose over years.
In our experience, three specific things happen to gate posts in Grand Prairie’s clay soil, and you can check for all three without digging:
- Seasonal heave. Wet springs push posts upward, especially shallow-set ones. The tell is a post that’s suddenly a half inch taller than its neighbor, with a visible smear line of dirt at the base. A post moving up means the bottom of the hole is no longer supporting it fully.
- Lateral drift. When clay dries in July and August, it can crack around the post and let the whole post tip toward the load. The gate pulls, the clay gives way a fraction of an inch, and the post never comes back on its own. You’ll see a crescent-shaped gap on the tension side of the post where the soil pulled away.
- Hinge-side settling. The post carrying the gate’s weight is the first to sink. This shows up as a gate that drags at the latch end, even though the hinges look fine. In Grand Prairie, we see this constantly after a wet spring followed by a dry summer.
The check for all three: put a 4-foot level on the post face and read the bubble. No level? A plumb bob from the top of the post tells you the same thing. If the bubble is outside the lines, or the post is out of plumb by more than a quarter inch over its height, the post is moving. Note it, photograph it, and watch it over the next two checks. If it’s getting worse, the repair is straightforward when caught early: the post gets reset, braced, and the gate rehung. If you wait until the gate drags, you’re also looking at panel stress cracks and likely hinge replacement.
This is also the reason a gate sags in the hinge post, not in the middle. That’s where we start on every repair call. Fix the panel without the post and you’ll fix it twice. If you want to see how this applies to an actual repair, our Gate Repair in Grand Prairie page walks through what a typical post reset looks like.
The 20-Minute Gate Inspection Sequence
This is the exact sequence I run, in order, and it takes most homeowners 20 minutes once they’ve done it twice. Walk it the same direction every time so your eyes learn what’s normal for your gate.
- Start at the hinge post. Look at the soil contact line first, then the post face, then each hinge. Photograph anything that looks different from last time.
- Open the gate fully. Does it swing free, or does it bind partway? A bind that wasn’t there before is a hinge or post issue, not a latch issue.
- Close the gate slowly. Watch the latch. It should click without you lifting, shoving, or pressing down on the gate. Any shove means the gate or the post has moved.
- Walk to the latch post. Same sequence: soil line, post face, then the latch hardware itself. Feel for wiggle in the strike plate.
- For automatic gates: run the gate through one full open and close cycle on the opener, standing to the side, and listen for hesitation, grinding, or a slam at either end of travel. Put a hand on the motor housing during the cycle. Excessive heat after one cycle is an early motor failure signal.
- Check the gap. With the gate closed, look at the gap between the gate and the latch post, top and bottom. It should be even. A wider gap at the bottom means hinge-post settling. A wider top gap means the gate leaf itself is racking.
- Kneel at each hinge. Look for pulled screw heads, a rust streak under the hinge plate, or a small gap between the plate and the post. Even a sixteenth of an inch of lift tells you something is moving.
- Finish at the wheel or drop bar. If your gate has a support wheel or a drop bar at the latch end, check that it actually touches the ground or the receiver. A wheel hanging half an inch free isn’t carrying weight, which means the gate is hanging entirely on the hinge post.
That’s the whole sequence. What you’re doing is reading the gate the way an inspector reads a house: each check tells you one specific thing, and together they tell you whether the gate is winning or the post is. Run this every 60 to 90 days, and every time a big storm rolls through Grand Prairie with wind from the west, because that west wind loads your gate sideways in a way normal closing never does.
Post-by-Post Checks: Movement, Lean, and What a Quarter Inch Means
Every gate has at least two posts: the hinge post, which carries the gate’s full weight, and the latch post, which catches and stops it. Most of what goes wrong on a gate shows up at one of these two posts first, and the earliest reliable signal is a quarter inch of movement.
The hinge post
The hinge post takes three loads at once: the downward weight of the gate, the pull of the gate as it opens, and the repeated shock of the gate stopping at the end of each cycle. Over years in Grand Prairie clay, that post starts to tip toward the gate. Here’s what to check:
- Soil gap. Get down at ground level and look at where the post enters the ground. A visible crack or open space on the side of the post facing the house means the post is being pulled away from the soil. That gap opens before the post visibly leans, so it’s your earliest warning.
- Plumb reading. A post that’s out of plumb by more than a quarter inch over a 4-foot level is moving. Less than a quarter inch is worth noting and watching. More than three-eighths of an inch means the post is actively failing and the gate is about to sag noticeably.
- Post rotation. A round post can twist in the hole while staying plumb. Look at the hinge brackets: if the hinges are still parallel to each other, you’re fine. If one hinge has started to angle relative to the other, the post rotated, which changes the swing geometry and makes the gate bind.
The latch post
The latch post takes less weight but more impact. Every time the gate closes, that post absorbs the stop. If it moves even a little, the latch stops lining up, and every fix after that is a fight against a post that keeps drifting.
- Strike plate gap. The strike plate is the metal piece the latch clicks into. If you see daylight between the plate and the post, or the screws have started to pull, the impact load has exceeded the post’s hold.
- Closing alignment. When the gate closes, the latch bar should enter the strike plate on the same line every time. If it scrapes the top or bottom of the opening, the latch post has settled or tipped.
- Lift check. Push the latch post sideways with your hand, firmly but not hard. A properly set post doesn’t move. If you feel even a click of movement, the post’s concrete collar has cracked or the soil has loosened, and that will only get worse.
In Grand Prairie, post failures show up most often in September and October, after the clay has gone through a full wet-dry cycle and the ground has finished moving for the year. If you check nothing else, check your posts in early fall.
Hinge-by-Hinge and Latch Checks: Measurements That Flag Trouble Early
Hinges tell you the truth about a gate because they’re the connection point between the standing structure and the moving load. Everything the gate does wrong shows up at a hinge eventually. The trick is reading the hinge before it talks loud enough to fail.
Here are the specific measurements to take, and what each one means:
- Eighth-inch lift. Place your hand on the hinge plate and try to rock it. If the top edge of the hinge plate lifts more than an eighth of an inch off the post, the screws are losing bite. On a wood post, that means screw-hole rot is starting. On a metal post, it means the weld or the fasteners are fatiguing. Either way, this is the earliest hinge failure signal, and it’s a $100 fix today versus a $600 gate rehang if it rips loose.
- Screw head pull. Weld spatter and rust can hide this, so run a fingertip over each screw head. A screw head that sits proud of the hinge plate by any visible amount has started to back out. That screw is no longer carrying its share of the load, which means the remaining screws are overloaded.
- Sag test. With the gate open about six inches, try to lift the latch end. On a 6-foot gate, a quarter inch of vertical play at the latch end is normal. A half inch means hinge wear. An inch means something has failed, and the gate is hanging on the hinge pin alone.
- Rust streak check. A brown streak running down from any hinge pin means the pin and barrel are grinding without enough lubrication. The fix is not more grease on a failing hinge; it’s finding out why the hinge is overloaded. Show me a rust streak on a hinge and I’ll show you a post that’s out of plumb or a gate that’s racked.
Now the latch. The latch is the safety component nobody thinks about until a storm catches the gate and throws it open. A gate that closes on its own, with a latch that engages without help, is the single best sign of a healthy gate. Show me the gate closing on its own and I’ll show you where it’s failing, if the latch needs a lift, a shove, or a kick. Any of those three means the geometry has changed somewhere. The most common fix when the latch won’t catch is repacking the hinge post, not bending the latch. Bend the latch to make it work and you’ve fixed the symptom while the post keeps moving, and in six months the latch won’t catch again because the post will have drifted farther.
Testing Your Automatic Gate Opener’s Force Settings
This is the section where I tell you something you won’t read on most manufacturer maintenance sheets: the force setting on your gate opener is not a set-it-and-forget-it adjustment, and a gate that runs fine today can be one power surge away from a dead motor tomorrow if the force setting is wrong.
Here’s why. Your opener’s force setting controls how hard the operator pushes the gate before the safety circuit kicks in and reverses it. Set it too low and the gate stalls in the wind or won’t climb a slight grade on a cold morning. Set it too high and the opener will push through obstacles, overloading the motor until it burns out, and that’s a gate that will run you over if you’re standing in its path.
The test takes five minutes:
- Disconnect check. Most residential operators, including LiftMaster, FAAC, and BFT, have a manual release lever. Pull it and push the gate by hand from fully open to fully closed. It should move smoothly with even resistance. If it binds or feels heavy, the problem is mechanical, not electrical. Don’t increase force to overcome a binding gate; fix the bind.
- Sensitivity test. With the opener re-engaged, run the gate closed. As it closes, place a gloved hand or a 2×4 flat against the leading edge, far from the hinge, and let the gate contact it. The gate should reverse within a second or two of contact. If it keeps pushing, the force is set too high and the safety circuit is not doing its job.
- Wind test. On a windy Grand Prairie afternoon, run the gate through a full cycle with the wind against the gate. A properly adjusted opener will push through a normal north wind without stalling. If it stalls, the force is too low, and that’s a stalled motor waiting to happen at the worst possible time.
- Stop test. Stand near the closed hinge post and look at the gate in the fully closed position. The opener should stop the gate cleanly and hold it. If the gate bounces off the stop and the opener chatters trying to hold it, the travel limit is off, and that chatter is shock-loading the gears every single cycle.
- Surge protection check. Look at the outlet your opener plugs into. If there’s no surge protector, put one in. Grand Prairie gets frequent lightning, and an opener without surge protection is a motor and control board waiting to be replaced. A basic surge strip costs less than the service call to diagnose a fried board.
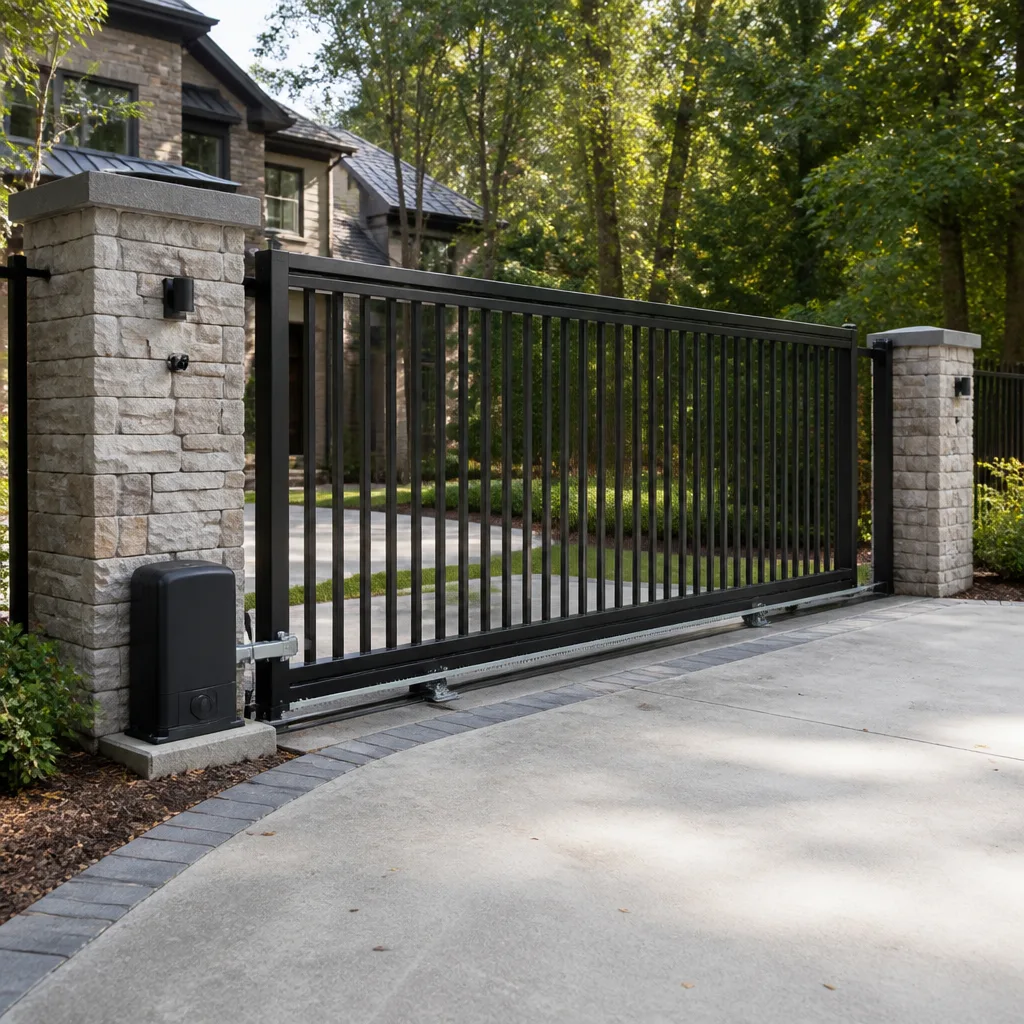
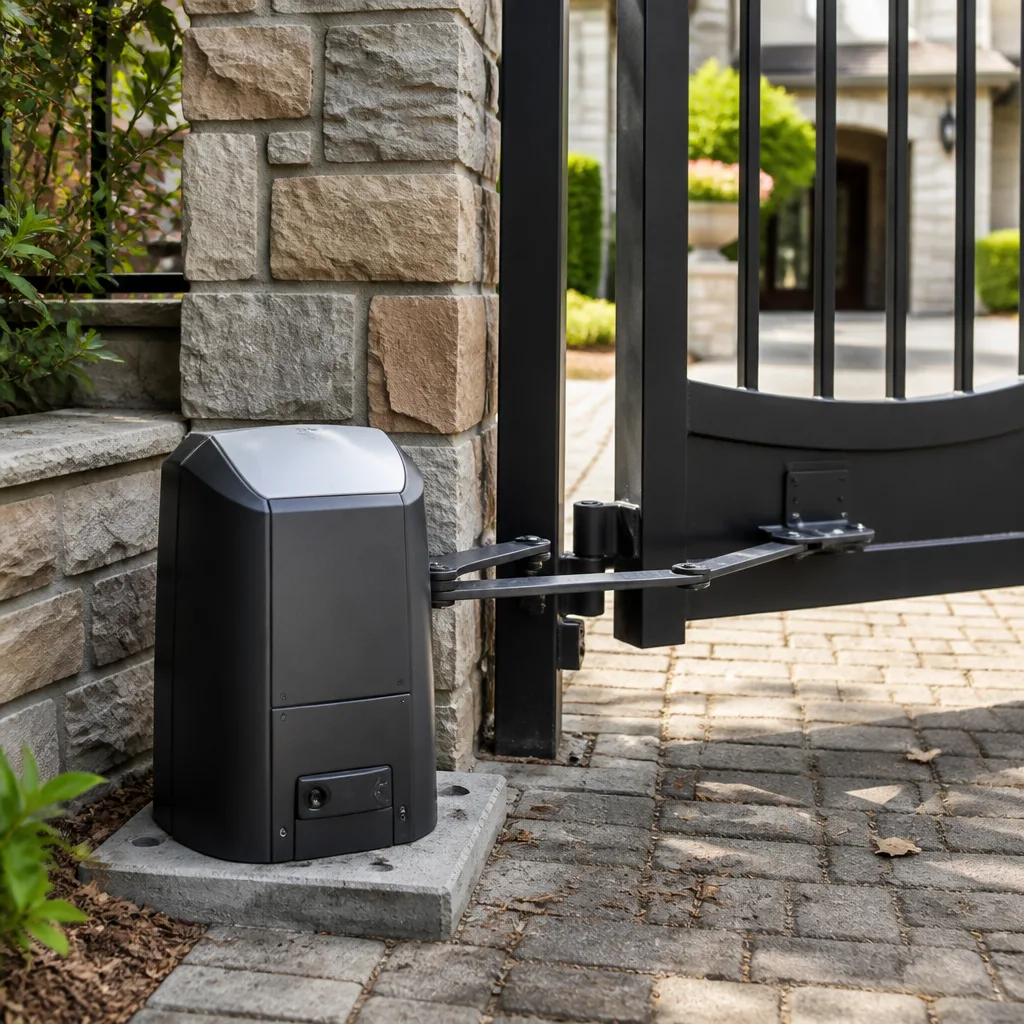
For most Grand Prairie homeowners, the right answer on force settings is “as low as it will go and still operate reliably.” If you’re not sure how to get there on your specific unit, we cover operator tuning in depth on our Gate Motor & Opener in Grand Prairie page, and we service LiftMaster, FAAC, BFT, and Linear units throughout the county.
Summer Heat Expansion and North Texas Storm Loading
Grand Prairie heat does two things to a gate that a generic maintenance list never covers. First, metal expands. A 12-foot steel gate can grow a full eighth of an inch in length between January and August, and if the latch clearance was already tight, that expansion will make the gate scrape or bind at the latch post in summer even though it closed fine in winter. Second, the heat dries out the clay around the posts, and the soil literally pulls away from the concrete collar, which is the lateral drift issue I covered in the soil section.
Storm loading is a different animal. A North Texas thunderstorm gusting to 50 or 60 miles per hour hits the broad face of a gate like a sail. On a 6-foot-by-12-foot gate, that’s more than half a ton of force at the peak, and it comes in bursts, which is worse for the structure than a steady push. Every one of those gusts flexes the hinge post and the panel. After enough storms, the panel starts to rack, which means the rectangle of the gate becomes a parallelogram. The latch no longer lines up, a hinge that was fine in spring is suddenly loose in July, and the opener’s force setting from March is now pushing a gate that weighs effectively more than it did before.
Here’s what to do after any storm with winds above about 40 miles per hour:
- Run the manual release check from the opener section above, and feel for binding.
- Recheck both posts with your level. Storms are the most common trigger for the quarter-inch shift that has been building for months.
- Look at the gate from 20 feet away, dead on from the front. Your eye will catch a racked panel faster than any measurement. A gate that should be square but looks like a slightly wind-cocked shed door is racking.
- If you have an automatic opener, run it once and listen for any change in pitch. A motor that’s suddenly louder is working harder, and that means something moved.
One more Grand Prairie-specific point: our storms often come from the west, which means the wind hits the latch side of most gates. If your gate’s latch is worn or the latch post is just slightly out of plumb, a west wind will find it. The gate bangs open, the opener tries to hold it, and the gear is the loser. After every big storm, check the latch first.
Photo Documentation: What to Record and Why It Matters for Warranty Work
Here’s the part of the checklist that most people skip, and it’s the one that costs them the most money later. Your phone camera is the best warranty record you have, and photos taken during routine maintenance are the difference between a manufacturer honoring a claim and denying it.
A documented maintenance history proves two things to a warranty provider: that the gate was installed and maintained properly, and that the failure was not caused by neglect. Motor manufacturers, including LiftMaster and Linear, want to see that force settings were checked and the gate moved freely. Gate panel fabricators want to see that hinges were sound and posts were plumb. Without photos, you’re arguing from memory. With them, you’re presenting evidence.
Here’s what to photograph on every inspection, in this order:
- The full gate, closed, from 15 feet back, straight on. This is your baseline racking shot. Compare it to the previous photo, and you’ll see panel drift before you’ll feel it.
- The hinge post at ground level, close enough to see the soil line. This records the gap that signals post drift.
- Each hinge, close enough to see the screw heads and the plate edge. This records any lift from the post.
- The latch and strike plate, gate closed. This records alignment.
- The opener and control board, cover off if you’re comfortable doing that. This records wire connections, board condition, and any visible heat damage.
- The gate fully open, from the side, showing clearance along the fence line. This records whether the gate is sagging into the opening arc.
Six photos, once every 60 to 90 days, plus a quick note in your phone (“hinge plate lifting slightly, watching”). If something fails under warranty, you’ll have a six-to-twelve-month history that shows the gate was sound and maintained. No homeowner with that record gets a “neglect” denial. If you ever need a written second opinion on what your photos show, Gatewood Fence & Gate provides a free second opinion on any written estimate, and we’re happy to walk through what you’re seeing. For Gate Repair Permits, Codes & Inspections in TX: What You Need to Know, check our compliance guide.
Monitor for 30 Days vs. Call Someone Today
Not every finding on this checklist is an emergency. In fact, calling a repair company every time the gate looks slightly off will cost you money you don’t need to spend. The skill is knowing what’s stable and what’s moving.
Safe to monitor for 30 days
- A post that’s out of plumb by less than a quarter inch, with no visible soil gap, and that hasn’t changed since the last check.
- A hinge plate with a barely visible lift, under an eighth of an inch, when the rest of the hinges are clean.
- A latch that needs only the lightest finger pressure to engage, and only when the wind is blowing.
- A small rust streak on a hinge pin that hasn’t lengthened between checks.
- A gate that scrapes or binds only on the hottest summer days, and clears when temperatures drop.
For these, do two things: photograph them, and recheck in 30 days. If the measurement is the same, you’re doing the job of maintenance, which is watching. If it gets worse, it moves to the next list.
Call today
- A post showing a visible gap at the soil line on the tension side. That post is moving now, and the gate will sag within months.
- A hinge plate lifting a quarter inch or more, or a screw that has pulled entirely free. The remaining fasteners are overloaded, and failure is a matter of cycles, not time.
- A gate that slams into the stop at the end of either travel. That’s a force setting or travel limit issue, and every slam is damaging the opener motor and the gate frame.
- A latch that no longer engages without lifting the gate. The gate will fail in the next storm, and a gate that flies open in a storm can hit a car, a person, or a brick wall.
- Any automatic gate that reverses for no reason, starts and stops on its own, or runs with a grinding noise. Those are the early signs of motor or gear failure, and catching them early is the difference between a board replacement and a full operator swap.
- An opener that was installed without surge protection and just rode out a Grand Prairie lightning storm. Even if it runs, the board can be damaged, and boards don’t heal.
If you’re in the “call today” list, call someone local who can put eyes on the gate this week, not next month. The person who shows up should be able to tell you exactly what’s moving, what it’s going to cost to fix, and whether it’s urgent or just getting there. If you’re not sure which list your finding belongs in, we offer free estimates in Grand Prairie, and if you have a written estimate from anyone else, we’ll give you a free second opinion on it.
Common Mistakes to Avoid
- Greasing hinges to fix a sagging gate. Grease makes a hinge move easier. It does not put a moving post back in the ground. If the gate sags, the problem is the post or the panel, not the lubrication, and grease only hides the symptom for a few weeks.
- Bending the latch to make it catch. When a latch stops engaging, the gate or the post has moved. Bending the latch bar restores the catch temporarily, but the structure keeps moving, and next time the repair is more expensive. Fix the post, then the latch lines up on its own.
- Raising the opener force instead of finding the bind. A gate that got hard to open didn’t spontaneously gain weight. Something moved. If you crank up the force to push through it, the motor pays the price, and a new motor costs a lot more than fixing the bind.
- Skipping the post check because “the gate looks fine.” By the time a gate looks visibly wrong, the post has been moving for months. The whole point of this checklist is to catch the quarter inch before it becomes a sag you can see from the street.
- Ignoring the storm cycle. In Grand Prairie, the check after a spring or fall storm line matters more than the scheduled 90-day check. Wind loading accelerates every slow failure the gate has been developing, and a gate that was fine in April can be half a racked panel by June.
- Letting a “minor” hinge lift ride through the winter. An eighth-inch lift in September becomes a pulled hinge plate in February because wet clay lets the post move more in winter. The repair window is shortest in Grand Prairie’s wet months, not its dry ones.
- Not knowing your opener’s manual release. If the power goes out in a storm, you need to be able to open the gate by hand. Most homeowners have never touched the release lever, and they find out they don’t know how to use it exactly when they need it most. Open the manual today, find the release, and practice it once.
When to Call a Professional
You should call a gate repair pro when a measurement has changed, not just when the gate stops working. A post that has moved a quarter inch and is still moving, a hinge lifting off the post, an opener that slams the gate, a latch that stopped catching, a photo sequence that shows drift over two checks: those are all call-today findings. Catching them early means a post reset or a hinge repair instead of a full gate replacement or a burned-out operator. The work on a gate is heavy, and a post reset involves digging next to a gate that weighs hundreds of pounds, so this is not the place to test your DIY limits. Gatewood Fence & Gate offers free estimates in Grand Prairie, and a live person answers the phone at (903) 829-4499.
Frequently Asked Questions
Every 60 to 90 days, plus once after any storm with winds over about 40 miles per hour. The clay soil in Grand Prairie moves on its own seasonal cycle, and the wind loads do additional damage on top of that, so the three-month schedule covers the slow drift and the post-storm check covers the sudden shifts.
Most Grand Prairie gate repairs run between $150 and $600 depending on whether the problem is a hinge, a post reset, an opener component, or a panel repair. A hinge replacement is on the lower end, a full post reset and rehang is in the middle, and an opener motor or control board runs higher because of the parts cost.
In most cases, yes. A sagging gate is usually a hinge post that has moved, and the fix is resetting the post, not replacing the gate panel. Unless the panel itself is cracked or rusted through, the repair is in the post and hinges.
A professional gate maintenance visit includes checking both posts for plumb, testing every hinge for lift and wear, verifying latch alignment, checking the opener’s force settings and travel limits, lubricating what should be lubricated, and tightening every fastener on the gate and hardware. You get a written list of what was checked and what was found.
Yes. We service and repair automatic gate openers on site, including LiftMaster, FAAC, BFT, and Linear units. That covers force settings, travel limits, safety circuit testing, motor and control board diagnosis, and surge protection.
Most gate repairs are done in one visit. A hinge replacement takes under an hour. A post reset typically takes half a day because the concrete needs to set before the gate is rehung. Opener board and motor replacements can run a few hours depending on the unit and what’s in stock. We’ll give you a straight answer on timing when you call, and the price is agreed before any work starts.
The Bottom Line
A gate in Grand Prairie doesn’t fail all at once. It fails in quarter inches: a post drifting in the clay, a hinge lifting off the post, a latch that needs a little more help each month, an opener set too hard because someone didn’t find the bind. Run the 20-minute sequence every 60 to 90 days, photograph what you find, and fix the quarter inch before it becomes a sag. That’s the whole job. And if you find something that belongs on the call-today list, call a local shop that will show up, tell you the truth, and put the price in writing before any work starts. For more guides & resources, see our blog.
Written by Hal Gatewood, Owner at Gatewood Fence & Gate, serving Grand Prairie since 2001.