
Last updated August 26, 2026
Free on-site gate assessment - hinges, posts, and your LiftMaster or Nice gate operator checked before anything is quoted
The assessment is free and the quote is the invoice.
Farm & ranch
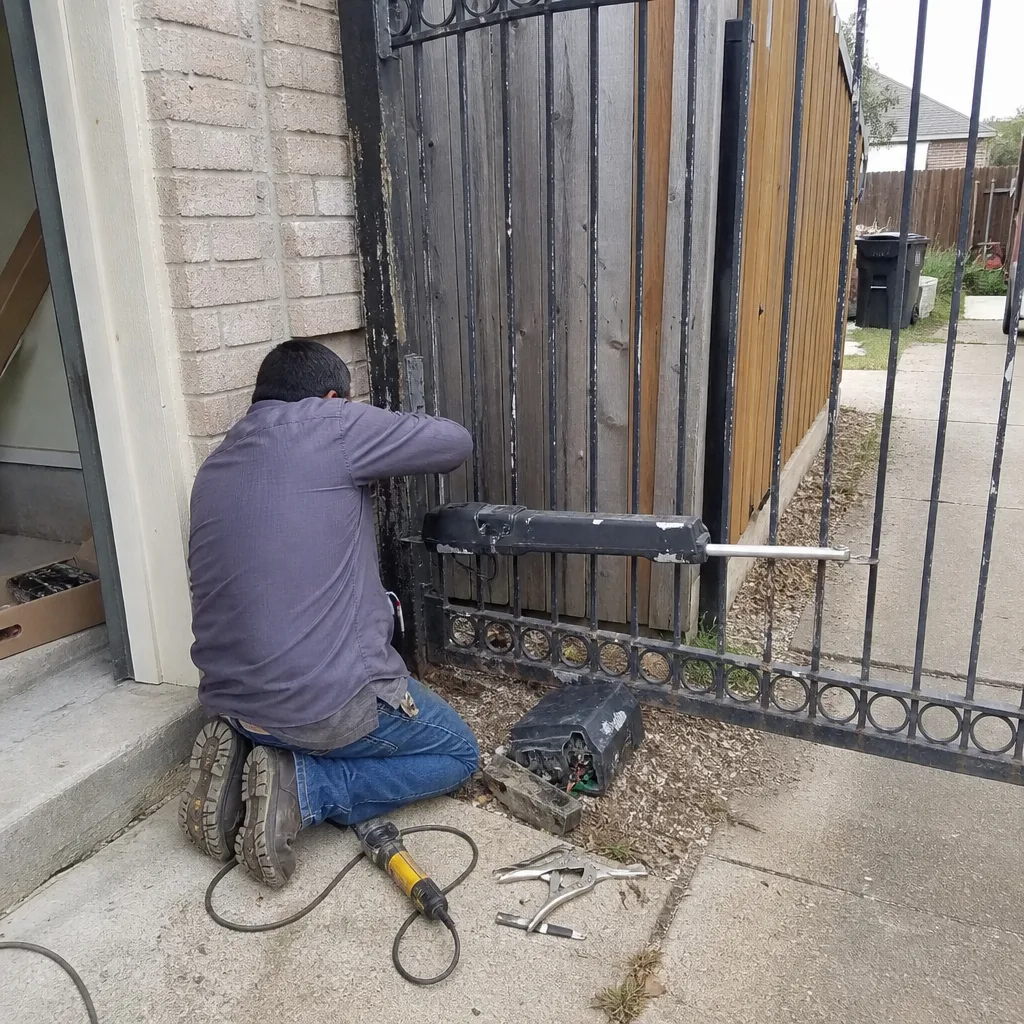 Before
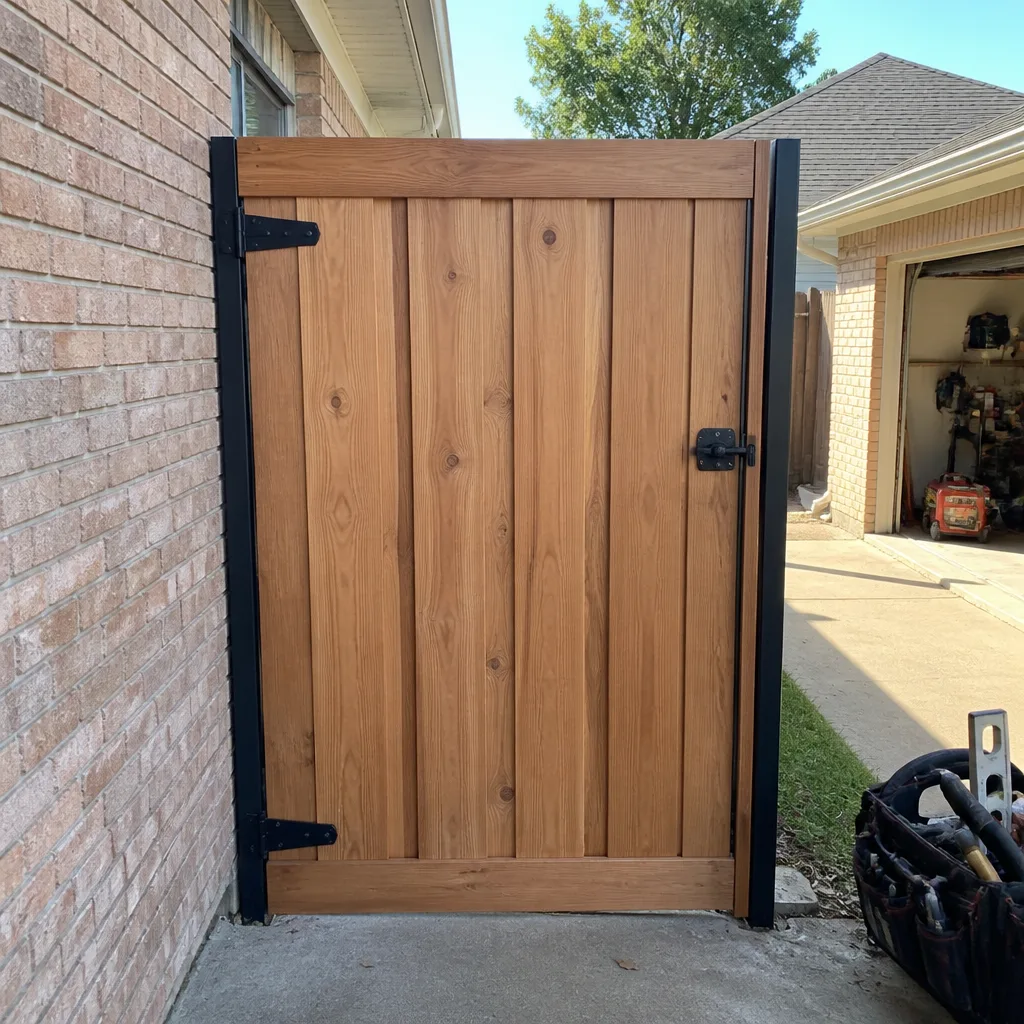 After
After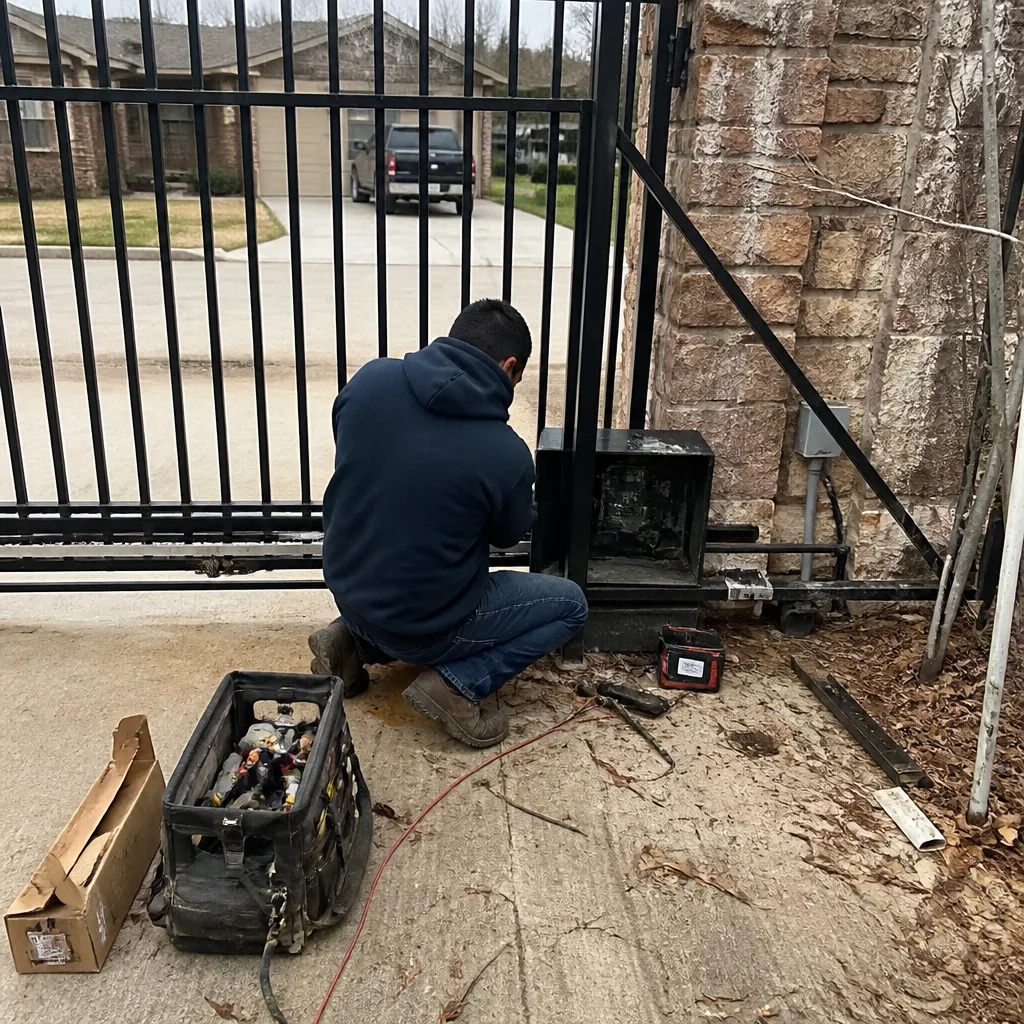 Before
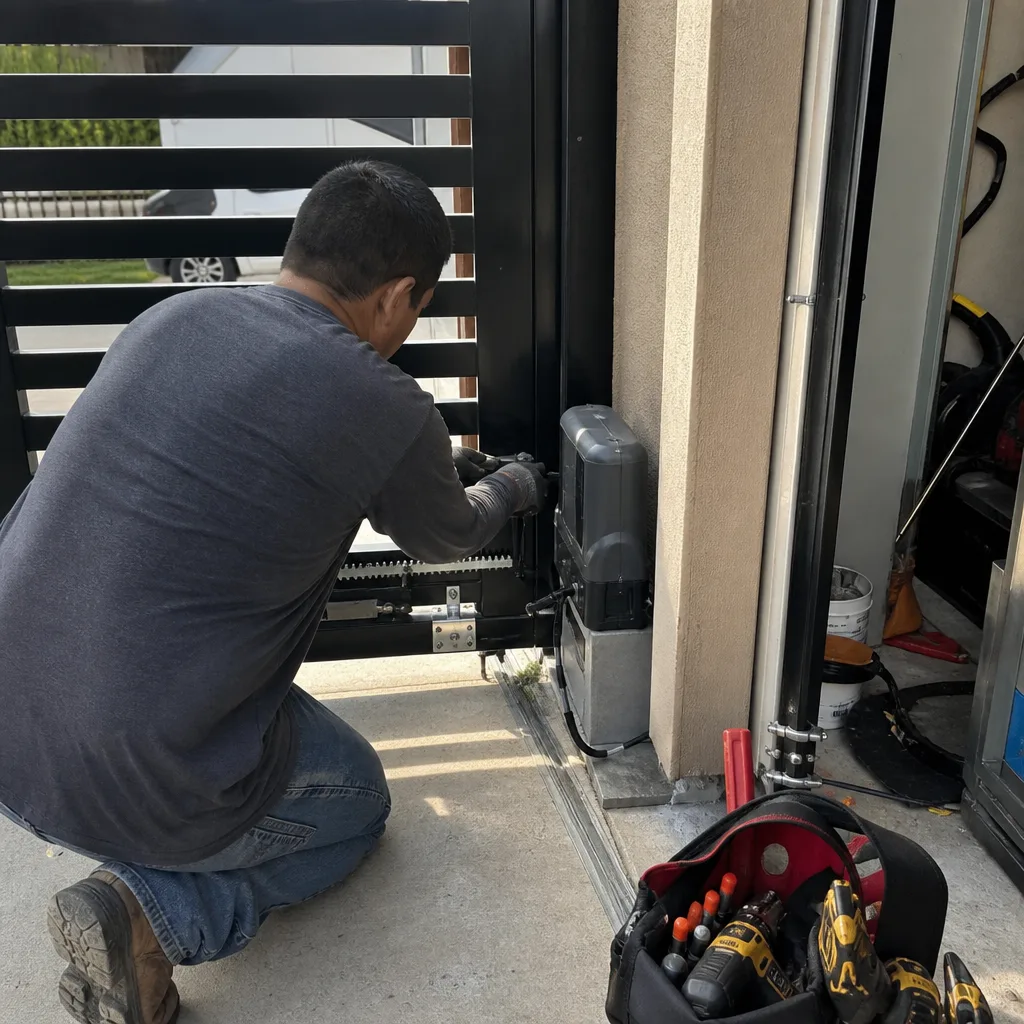 After
After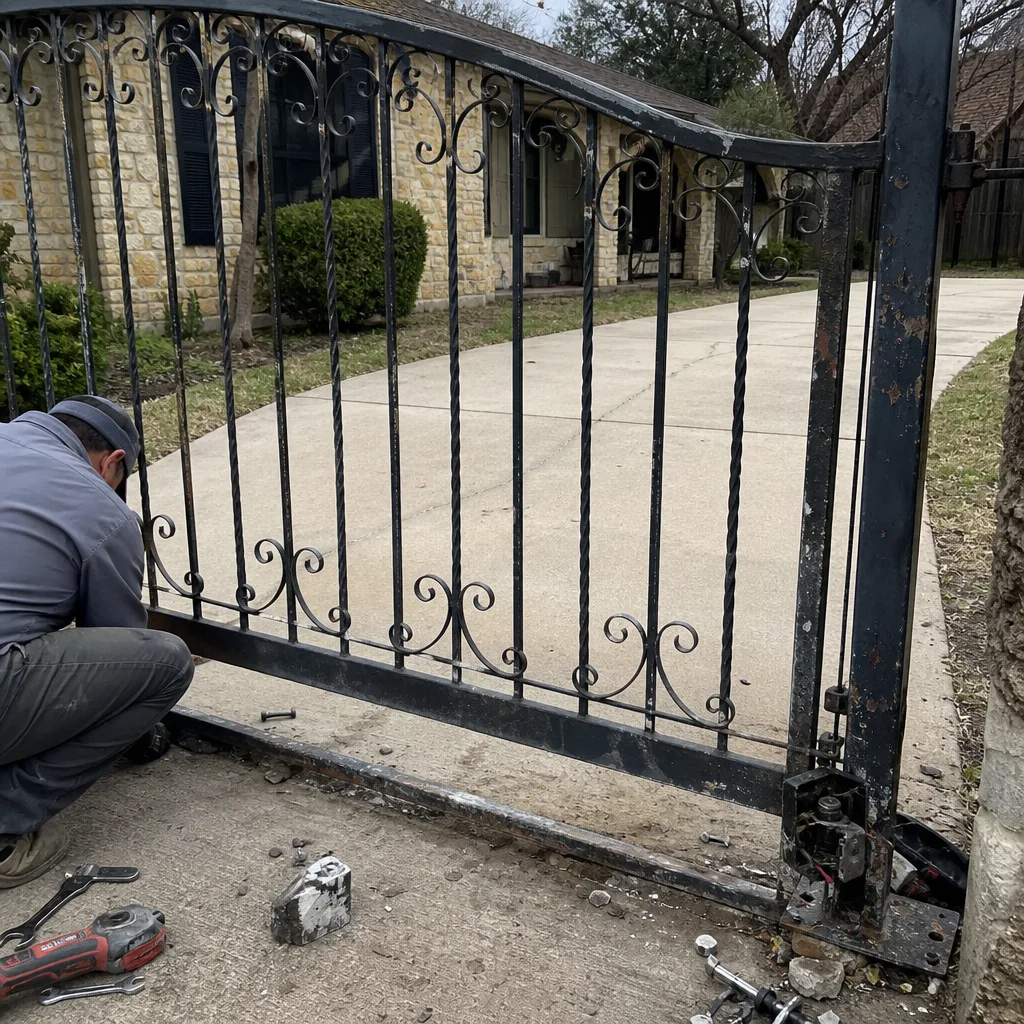 Before
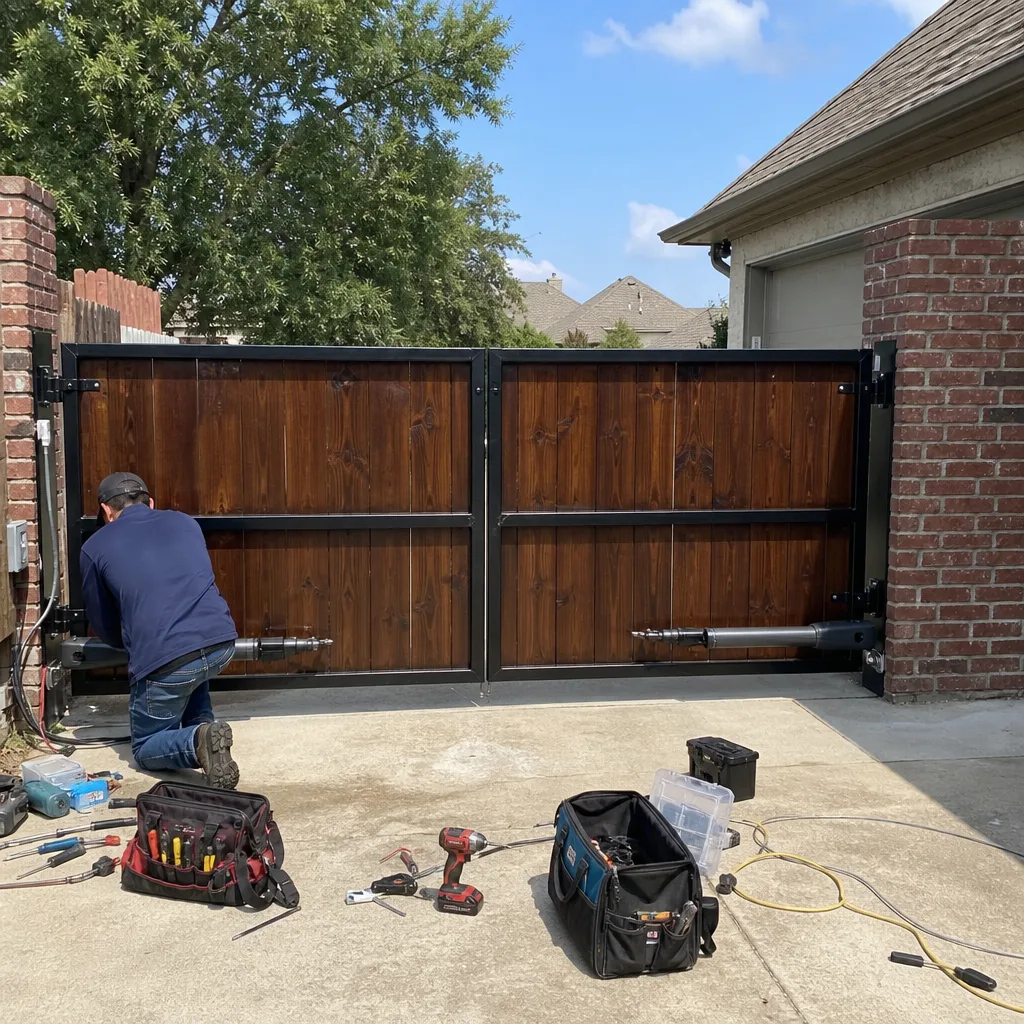 After
AfterDIY vs Professional Gate Repair: The Grand Prairie Homeowner’s Decision Guide
Here’s something that might surprise you: a lot of gate repair calls we get in Grand Prairie start with a homeowner who didn’t need us a week ago. They had a squeaky hinge or a dragging gate and decided to fix it themselves because the internet said it was easy. Then they stripped a bolt, cracked a hinge, or burned through a panel with a welder they bought for forty bucks. What would have been a $120 service call is now a $600 repair. This guide is about drawing that line honestly. You’ll learn which repairs you can genuinely handle on a Saturday morning, which ones to leave to our Gate Repair services, and how to know the difference before you pick up a wrench.
Quick Answer
DIY gate repair in Grand Prairie makes sense for cosmetic fixes, light lubrication, and simple hardware swaps like handle or latch replacement on driveway gates under 200 pounds. Professional repair is the right call for any job involving gate springs, automatic opener mechanisms, sagging posts, welds, or gates heavier than 200 pounds, because those failures can injure someone or turn a $200 fix into a $900 one the moment a DIY attempt goes sideways.
Table of Contents
- Gate Repairs You Can Honestly Handle Yourself
- The Repairs Where DIY Makes It Worse
- Automatic Opener Adjustments: The Gray Zone
- Assessing Your Skill Level Without YouTube Confidence
- Grand Prairie Climate, Code, and Gate Considerations
- What Gate Repair Actually Costs in Grand Prairie
- After You’ve Attempted a Repair: What to Tell the Contractor
- Common Mistakes to Avoid
- When to Call a Professional
- Frequently Asked Questions
- The Bottom Line
Gate Repairs You Can Honestly Handle Yourself
I’m not going to tell you to call a professional because a hinge squeaks. That would be embarrassing for both of us. There’s a genuine list of gate repairs any reasonably handy person in Grand Prairie can handle with basic tools, and doing them yourself saves real money. Here’s the straight list.
Squeaking Hinges
This is the classic, and it’s almost always a five-minute fix. Squeaking means metal-on-metal friction where the gate pivots. The fix is lubrication, but the kind matters. White lithium grease is the standard for gate hinges in Texas because it holds up to heat and doesn’t wash out in rain. WD-40 is not a lubricant, it’s a water displacer, and within a week the squeak is back. You’ll need a can of white lithium grease, a rag, and about ten minutes. Open the gate fully, wipe the hinge pins clean, spray the grease into the pin joint, and work the gate back and forth a dozen times so it penetrates. Do both hinges, not just the loud one. If the squeak continues after that, you’ve got a different problem: a hinge that’s already worn out of round. That’s no longer a lube job, that’s a hardware replacement, and we’re about to cover why that’s a gray area.
Sticking Latch or Handle
A gate latch that’s hard to pull usually means one of three things: the latch is full of dirt, the strike plate has shifted a quarter inch, or the gate itself has sagged and the latch no longer lines up. The first two are DIY-able. Remove the latch assembly with a Phillips screwdriver, clean out the crud with a wire brush, re-lubricate the internal spring, and remount it. If the strike plate shifted, loosen its screws, realign it with the latch tongue, and tighten everything back down. Test it a few times. If the latch still binds, the gate has dropped, and that’s a sagging issue. Different repair entirely, covered below.
Tightening Loose Hardware
Gate hinges, latches, and post caps work loose over time because a swinging gate vibrates. Walk around your gate with a socket set and a screwdriver and snug up everything that’s come loose. This takes fifteen minutes and prevents bigger problems. The one caveat: don’t over-tighten. That’s not a throwaway warning. Over-tightened hardware is one of the most common mistakes we see in Grand Prairie, and it creates exactly the kind of stripped bolt hole that turns a $20 DIY project into a $400 post repair. Turn the fastener until it’s snug, give it a quarter turn more, and stop. That’s it.
Painting Rust Spots
Surface rust on a steel or wrought iron gate in Grand Prairie’s humid summers is an ongoing maintenance item, not a structural emergency. Sand the rust down to bare metal with 120-grit sandpaper, wipe the area with mineral spirits, prime it with rust-inhibiting primer, and paint with a metal-grade enamel. Do it on a dry weekend when there’s no rain in the forecast for 48 hours. The key is that you’re treating surface rust. If the rust has eaten through the metal, if you can poke a screwdriver through a spot, that’s structural. Painting over structural rust is just burying a problem that’s already too deep. We’ll get to that.
Materials list for DIY gate maintenance:
- White lithium grease (one can lasts years)
- Socket set and Phillips screwdriver
- Wire brush, 120-grit sandpaper, mineral spirits
- Rust-inhibiting primer and metal enamel paint
- A flashlight and willingness to lie on the ground for hinge inspection
The Repairs Where DIY Makes It Worse
Here’s the part where I stop being the encouraging neighbor. There is a shorter list of gate repairs where a DIY attempt doesn’t just fail, it adds cost. Sometimes the added cost is mild, like paying for another hour of labor to undo what you did. Sometimes it’s severe, like replacing a hinge post that you cracked by forcing something out of alignment. Understanding why these repairs go wrong helps you recognize when you’re about to cross the line.
Stripped Bolt Holes
A stripped bolt hole is the single most common DIY-created problem we repair in Grand Prairie. It happens when a homeowner over-tightens a hinge bolt, or when they try to reseat a bolt in a post that’s already starting to degrade. The bolt spins, the threads in the post are destroyed, and now the hinge won’t hold. The fix isn’t a bigger bolt. The fix is drilling out the hole, tapping it for a threaded insert, or welding the hole shut and redrilling it. That’s an hour of skilled labor plus materials, and it pushes a simple job into a few hundred dollars. Meanwhile, the honest version is: if a bolt won’t seat, stop turning it, call someone who can address why it won’t seat.
Over-Tightened Hinges
This follows from the same instinct: “if snug is good, tighter is safer.” Not true on a gate. A hinge bolt that’s over-tightened binds the hinge leaf, which concentrates stress at the bolt head instead of letting the gate pivot freely. Over time that fatigue fractures the bolt, or egg-shapes the hole it sits in. The gate starts to drop a fraction of an inch over months, which throws off the latch, which makes the owner crank the latch bolts down too, and now you’ve got a chain of over-tightened failures. The right torque on a gate hinge is snug plus a quarter turn, as we said above. If the gate still moves after that, the problem isn’t the bolt. It’s the post, the hinge, or the gate’s geometry.
Painted-Over Rust
Painting over rust without removing it traps moisture and chloride ions against the metal, which accelerates the corrosion. It’s counterintuitive, but painting a rusted gate without proper surface prep makes the rust spread faster than leaving it alone. We see this constantly on older wrought iron gates in Grand Prairie neighborhoods where original post-war homes still have their original side gates. Homeowners hit the rust with a coat of Rust-Oleum and feel good about it for six months, then the paint starts bubbling and the metal underneath is worse than it was. Mechanical removal to bare metal is non-negotiable. If you’re not willing to sand or wire-brush to clean steel, don’t paint it at all.
Welding a Gate Brace
I’ve got a story about this one. A homeowner in Grand Prairie had a sagging drive gate, watched three YouTube videos, bought a flux-core welder from Harbor Freight, and welded a diagonal brace across the gate frame. The bead looked fine sitting in his garage. It even looked fine on the gate for about two months. Then one afternoon the brace let go while the gate was swinging, and the gate swung into the side of his parked truck. The weld hadn’t penetrated the base metal. It was sitting on top like dried caulk. He called us to fix the gate and reskin the section he’d burned through with the welder. It cost about four times what the original sag repair would have. Welding is a skill that takes years to develop. A bad weld doesn’t announce itself until it fails, and when a gate fails, it has weight and momentum. That’s the difference between a cosmetic weld on a garden trellis and a structural weld on a gate. One of those can hurt someone.
Sagging Gate Adjustments
A gate sags in the hinge post, not in the middle. That’s the sentence that saves you money. When a gate drags at the latch side, the overwhelming urge is to lift it by force, shim it, or tighten the hinges. But the cause is almost always the post itself leaning out of plumb, or the hinge hardware worn, or the post’s footing shifting in clay soil. Grand Prairie’s heavy clay soil swells and contracts with moisture, which slowly works posts out of alignment. You can’t repair that with a torque wrench. You repair it by digging out the post footing, re-setting the post in concrete, or replacing the post entirely. Sometimes a skilled welder can cut and rehang the hinges to compensate for a slight lean. What you can’t do is fix the post from the middle of the gate. The mechanical relationship is: the gate hangs from the post. The post sits in the dirt. When the post moves, the gate follows. Fix the panel without the post and you’ll fix it twice.
Automatic Opener Adjustments: The Gray Zone
Automatic gate openers are where the honest answer gets nuanced. Some opener adjustments are genuinely homeowner-level. Some involve safety compliance that matters if a child or pet ever gets caught in the closing path. Let’s draw that line clearly.
The Homeowner-Level Adjustments
- Replacing remote batteries: Obviously. If the remote works intermittently or stops working while the keypad still works, it’s the battery. Swap it.
- Adjusting the auto-close timer: Most openers have a small dial or DIP switch setting that controls how long the gate waits before closing. If your gate closes too fast or too slow, this is often a one-screwdriver adjustment. The settings are typically printed on a label inside the control board cover.
- Cleaning the photo eye sensors: If your gate starts closing and immediately reverses, or won’t close at all, check the sensors mounted near the bottom of the gate track. Spider webs, dust from construction, and grass clippings are the usual culprits in Grand Prairie. Wipe the lenses with a soft cloth and test again.
- Lubricating the opener arm or track: A dry opener mechanism creates drag that can cause fault codes. White lithium grease on the arm pivots and a silicone spray on the rail, if the manufacturer allows it for your model, can clear up a sticky operation.
The Adjustments That Belong to a Pro
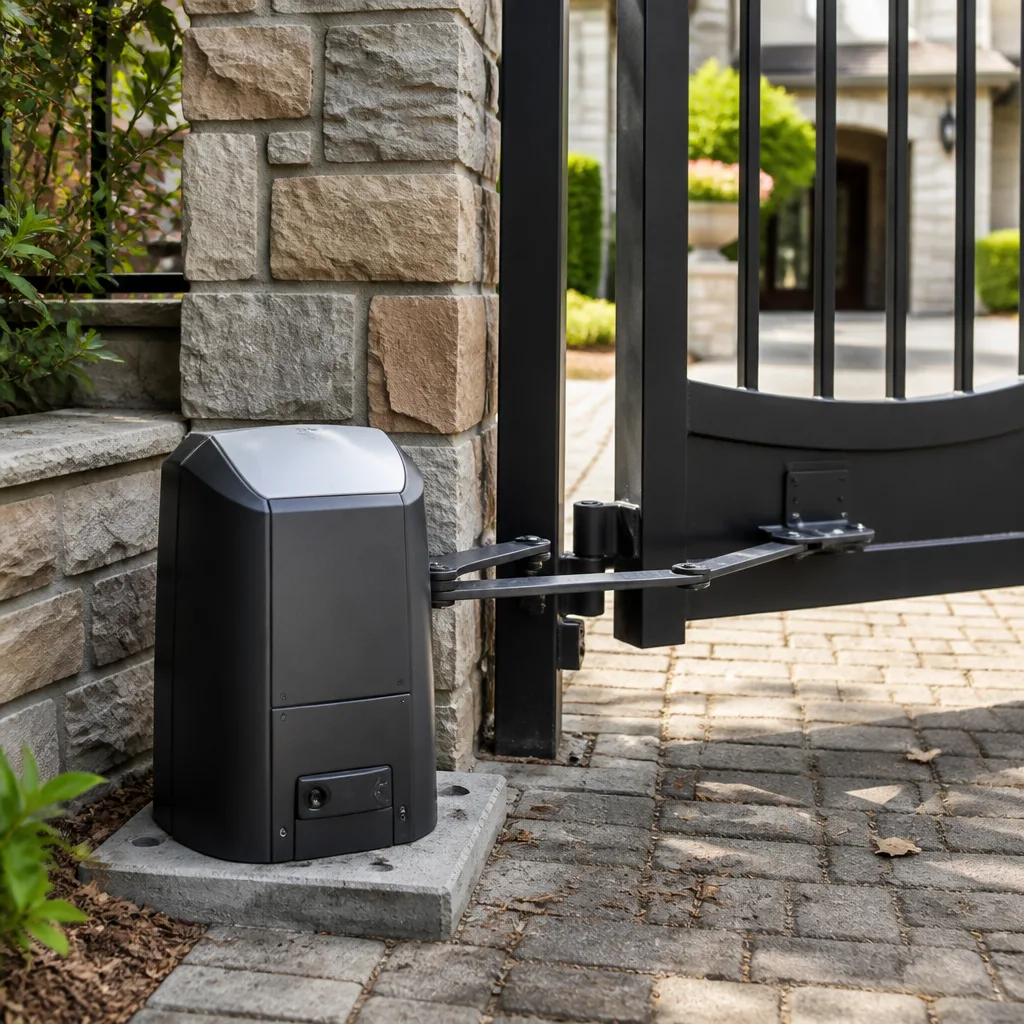
Where it gets serious is force settings and travel limit adjustments on gate motors. Modern automatic gate openers, including the BFT, Linear, Viking, and Ghost Controls units we service regularly in Grand Prairie, have adjustable force sensitivity controls. This setting determines how much resistance the gate has to meet before it stops and reverses. Get it wrong, and the gate will continue pushing against an obstruction until someone gets hurt. The UL 325 standard exists because gates have killed people, including children. The standard requires that automatic gates meet specific entrapment protection criteria, including proper force limiting, proper photo eye or edge sensor placement, and proper warning signage. When a homeowner adjusts the force setting up so a dragging gate will close, they’re disabling the one safety feature designed to prevent that gate from crushing something. That’s not a maintenance decision. That’s a liability decision.
The same goes for travel limit adjustments on the motor. If the arm pushes too far, it over-stresses the hinges and the bracket welds. If it doesn’t push far enough, the latch won’t catch. Both are brief adjustments with a service tool, but the secondary effects of getting them wrong ripple through the entire gate structure. When in doubt, the rule is: battery, timer, sensors, lubrication, yes. Force and limits, no.
Assessing Your Skill Level Without YouTube Confidence
Nobody watches a ten-minute video and accurately assesses whether they can replicate the skill. YouTube confidence is a real phenomenon, and I’m not even being dismissive; I’ve watched videos of welding techniques that made it look like anyone could lay a clean bead. The question is whether you’d trust your bead to hold a 300-pound gate when your kid is standing under it. Here are the questions to ask yourself honestly before you start a gate repair.
- Have you done this exact thing before, on this type of material, with these tools? If the answer is no, that doesn’t automatically mean call a professional. But it does mean your first attempt shouldn’t be a safety-critical component.
- If this fails, what’s the worst outcome? A squeaky hinge failing means more squeaking. A hinge weld failing means a gate falls. A spring failure means stored energy released without warning. The appropriate response to those failures is very different, and your confidence should match the worst outcome, not the best case.
- Can you stop halfway and reassess without making it worse? Most professional repairs are incremental. You take the assembly apart, evaluate each component, and make decisions based on what you find. DIY repairs tend to be linear: watch video, do the thing, done. Gates don’t work that way. If you can’t diagnose mid-repair, you’ll push through a bad diagnosis.
- Do you own the right tools, or are you about to make a tool purchase decision that affects the repair? A repair that requires a $300 tool you’ll use once is not a money-saving repair. The welder story above started with a $120 welder and ended with a $2,000 body shop bill.
- Is anyone’s safety involved if I get this wrong? This is the one question that matters most. Gate springs, torsion bars, automatic closures, and any gate over about 200 pounds involve stored energy or moving mass. If the answer is yes, the honest skill assessment ends with a phone call.
If you answer these questions honestly and the repair still feels DIY-appropriate, go do it. If you find yourself hedging on any of them, that’s information too.
Grand Prairie Climate, Code, and Gate Considerations
Living in Grand Prairie shapes your gate’s behavior in specific ways that generic gate guides never mention. Let’s talk about what’s local and real.
Clay Soil and Moving Posts
Grand Prairie sits on expansive clay soil, the same black gumbo clay that plagues foundations all over the metroplex. This soil swells when it’s wet and shrinks when it’s dry, and it does both dramatically. Gate posts set in concrete footings shift over years as the surrounding clay expands and contracts. This is why so many gates in Grand Prairie develop sag over two or three seasons. It’s not shoddy installation, it’s geology. A DIY adjustment might buy you a few months, but the post will keep moving until it’s re-set deeper or stabilized. If you’re buying a home in Grand Prairie with an existing automatic gate, watch how the gate sits during wet spring months versus dry August. If the latch gap changes, the post is on the move. Call someone before the gate is.
Heat, UV, and Electronics
Grand Prairie summers brutalize gate operator electronics. Control boards sit inside metal housings that bake in 100-degree heat, and UV radiation degrades plastic gears, wiring insulation, and plastic housings on openers. An automatic opener that works fine in October might fault out in July because a solder joint expands in the heat. We see more opener failures in August than any other month. There’s no DIY fix for heat fatigue on a control board, but there is a maintenance item: keep the operator housing clean and clear of dirt and insect nests, because those trap heat. For a complete schedule, see our Gate Repair Maintenance Checklist for Grand Prairie Homeowners. Every spring, take ten minutes to open the operator cover, check for wasp nests (a real thing in Grand Prairie), blow out the dust, and make sure the vents, if your model has them, aren’t blocked.
Code and HOA Realities
Grand Prairie has not adopted its own residential gate code that goes beyond state law, but the state of Texas requires that automatic gates comply with UL 325 entrapment protection standards. If you’re installing or significantly modifying an automatic gate on a residential property, the gate must have appropriate safety edges or photo eyes, force limiting, and signage. Some Grand Prairie HOAs also have specific gate requirements: height limits, style requirements, and in some cases community-wide design standards for front-facing driveway gates. Before you install or replace a driveway gate, check your HOA’s architectural guidelines. It’s a twenty-minute phone call that saves you from a removed gate and a fine. Our Gate Installation in Grand Prairie page has more on that.
Wrought Iron and the Rust Cycle
The humid Gulf air that reaches Grand Prairie, combined with the swing between wet and dry seasons, means steel gates rust faster than in drier parts of Texas. Wrought iron gates in particular develop surface rust around hinges, pickets, and the bottom rail where water pools. The maintenance cadence is every two to three years: sand, prime, paint. The structural cadence depends on how quickly the rust is caught. Once rust penetrates the metal, the repair transitions from maintenance to replacement of that section. That’s when professional work is cheaper than extended DIY patch jobs.
What Gate Repair Actually Costs in Grand Prairie
Let’s talk about money without the usual hedging. These are the price ranges we see in Grand Prairie for common gate repairs, based on what our crew charges and what the local market reflects. For full details, see our Gate Repair Cost Breakdown: The Grand Prairie Homeowner’s Reference for 2026. They’re accurate as of early 2026, and they vary based on gate size, material, and how far your house is from our shop.
| Repair Type | Typical Range in Grand Prairie | DIY or Professional? |
|---|---|---|
| Hinge lubrication and hardware tightening | $0-$30 in materials | DIY |
| Latch or handle replacement | $60-$180 | DIY for basic swaps; professional if gate is misaligned |
| Hinge replacement (one hinge, hardware and labor) | $120-$300 | Professional (post alignment required) |
| Sag repair, hinge post re-setting | $350-$900 | Professional |
| Automatic opener diagnostic and repair | $125-$450 | Professional (UL 325 compliance) |
| Full gate replacement, standard driveway single | $900-$2,800 | Professional |
| Welded repair to a steel gate frame | $180-$600 depending on extent | Professional (structural weld) |
Before any work starts, we quote a price and you agree to it. That’s not a special promise; it’s how we operate. The price you approve is the price on the invoice. If we find something unexpected while we’re in the job, we stop and call you before adding anything. Anyone in Grand Prairie can call Gate Repair in Grand Prairie to learn more about what we cover, and the estimate is free.
After You’ve Attempted a Repair: What to Tell the Contractor
Here’s a scenario we’ve lived a hundred times: a homeowner tries a repair, makes it worse, and calls us embarrassed. They don’t mention what they did at first. Then Hal shows up, starts digging in, and finds a broken bolt, a misaligned bracket, or a weld blob in a weird spot. Now we’re playing detective instead of fixing the gate. Being upfront about a previous repair attempt is the cheapest money you’ll ever save in gate work.
Here’s why: when we know what you already tried, we know where to look. A stripped bolt hole is the thing we inspect for first. A badge of over-tightened hardware tells us we’re probably also dealing with a cracked hinge leaf. A fresh weld on a gate brace tells us to check the base metal and the post. None of that is intuitive from a symptom description. It’s only obvious once we know what was done. Tell us you tried to fix the latch and stripped a screw, and we can map out the repair before we even get in the truck. Tell us nothing, and we spend billable time diagnosing what you already know. That’s not a lecture. It’s just math.
When you call, here’s what a useful summary sounds like: “We noticed the gate sagging, so I tightened the hinge bolts and the top one spins freely now. I also tried shimming the latch side with a washer.” That’s ten seconds of information that saves thirty minutes of diagnosis. It also signals that you’re a homeowner who’s paying attention, and that’s someone worth working for. Hal’s name is on the shop and his address is published, which means when he gives you a price, he’s giving it as a neighbor, not a salesman. Gate Motor & Opener in Grand Prairie covers the opener side of this equation.
Common Mistakes to Avoid
- Cranking hinge bolts down until they won’t turn anymore. Over-tightening is the top DIY mistake we see in Grand Prairie, and it creates stripped holes and cracked hinge leaves that turn a $30 hardware job into a $300 post repair. Snug plus a quarter turn is the rule.
- Treating a sagging gate as a hinge problem. A gate sags in the hinge post, not in the middle. If you keep tightening hinges and the gate keeps sagging, the post is moving in the clay soil, and no amount of torque fixes geology.
- Painting over rust without removing it first. Paint over active rust traps moisture against the metal and accelerates the corrosion. You’re trading a maintenance item for a structural failure two years down the road.
- Using WD-40 on gate hinges and calling it done. WD-40 is a water displacer, not a lubricant. Use white lithium grease for gate hinges in Grand Prairie’s heat and humidity, or you’ll be out there squeaking again in a week.
- Adjusting automatic opener force settings to push through a dragging gate. Disabling the entrapment protection on a gate motor to compensate for a sagging gate is a safety liability, not a repair. If the gate is dragging, fix the drag. Don’t crank the force.
- Buying a cheap welder to do structural gate work. A flux-core welder from a discount store can’t produce penetration welds on gate steel, and the failure mode is a swinging gate that comes apart under load. This is a safety risk, not a learning curve.
- Hiding a previous repair attempt from your gate contractor. The information you’re embarrassed to share is the same information that makes the diagnosis faster and the repair bill smaller. Tell Hal what you tried. He’s been doing this since 2001 and has seen all of it.
When to Call a Professional
Call a professional when any of these are true: your gate is heavier than 200 pounds and sagging, you hear grinding or popping at the hinge points, the post is visibly leaning, the automatic opener won’t reverse when it meets resistance, any part of the gate frame has a crack you can see, any weld has failed or was done by an amateur, the gate has dropped enough that the latch no longer engages, or the repair involves a tension spring under load. Springs store energy. Gates have momentum. Both of those hurt people. If you’ve read this far and you’re in Grand Prairie, Gatewood Fence & Gate offers free estimates at (903) 829-4499. No trip charge inside the county. Same estimate whether you call or walk into the shop. Hal has been welding on site in your driveway since 2001, and the 90-Day Done Right Promise is stamped in writing on every job. If it’s not done right, he makes it right, no runaround. Gatewood Fence & Gate home has our address and license number, and you can drive by the shop and look at the gate in front of it. That gate is ours too.
Frequently Asked Questions
Most gate repairs in Grand Prairie run between $120 and $900, with simple hardware swaps at the low end and full post re-setting or welded frame repair at the high end. A typical hinge replacement runs $120 to $300, and a full sag repair with post re-setting runs $350 to $900. Gatewood Fence & Gate quotes a fixed price before any work starts, so there’s no surprise on the invoice. Call (903) 829-4499 for an exact quote, and the estimate is free.
You can handle four homeowner-level tasks: replacing remote batteries, adjusting the auto-close timer, cleaning the photo eye sensors, and lubricating the opener arm if the manual allows. Leave force settings, travel limits, and any UL 325 compliance adjustment to a professional, because getting those wrong disables the gate’s entrapment protection and creates a safety liability. If your opener is one of the BFT, Linear, Viking, or Ghost Controls units we service, call us and we’ll tell you over the phone whether it’s DIY-able.
Grand Prairie sits on expansive clay soil that swells when wet and shrinks when dry, and that movement slowly works gate posts out of alignment over seasons. The gate doesn’t sag in the middle; it sags because the hinge post has moved. A DIY adjustment might buy time, but the lasting fix is re-setting the post deeper or replacing it entirely. This is the most common gate problem we see across Grand Prairie, from Dalworth to the Lake Ridge corridor.
A professional gate installation in Grand Prairie should include measuring the opening, digging and setting hinge posts in concrete at the proper depth for clay soil, hanging the gate with properly rated hinges, installing the latch and any automatic opener, running the control wiring if needed, programming the opener, and testing the full range of motion plus safety functions. The quote should also account for any electrical run from your panel to the gate post. Gatewood Fence & Gate handles the power run and the safety edges as part of installation, and the estimate is written before work starts.
Most steel and wrought iron gates have a structural lifespan of 20 to 40 years in Grand Prairie, assuming rust is caught early and posts stay set. A 15-year-old gate with solid posts, rust-free hinges, and straight pickets is usually worth repairing, especially if the alternative is a new gate that costs $900 to $2,800 for a standard driveway single. We’re a repair-first shop, which means we’ll tell you honestly whether repair makes sense. That’s the job: fix what’s fixable, replace what’s not, and don’t sell you a new gate when a hinge would do.
Most gate repairs in Grand Prairie, including hinge replacement, welding, post re-setting, and opener repair, don’t require a permit. New gate installations or significant structural work on a driveway gate may need HOA approval, depending on your community’s architectural guidelines, and automatic gate installations must comply with UL 325 safety standards under state law. Check with your HOA before starting, and if you’re unsure, we can point you in the right direction when you call.
The Bottom Line
The honest line between DIY and professional gate repair sits at the point where stored energy and moving mass enter the equation. Lubricate hinges, clean latches, tighten bolts snug but not more, paint surface rust after proper prep. Those are your Saturday morning jobs. Leave springs, welds, sagging posts, opener force settings, and anything over 200 pounds to someone who does this every day. The savings from doing a job yourself only count if the job stays done. In Grand Prairie’s clay soil and heat, that’s a bigger if than most guides admit. We’d rather see you spend $140 on a hinge replacement once than $600 fixing a stripped post after a failed DIY attempt. That’s the honest math.
Written by Hal Gatewood, Owner at Gatewood Fence & Gate, serving Grand Prairie since 2001.